KAYAK FISHING SAFETY
By Herb Spannagl
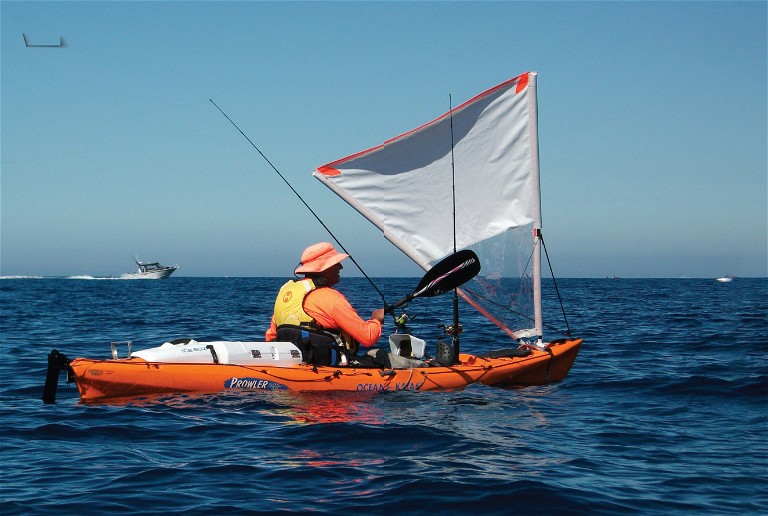
On long-range fishing trips, sails are a great help but they also increase the risk of a capsize, especially on narrow-beamed kayaks.
Catching albacore tuna off the coast of Taranaki has become the highlight of my kayak fishing year.
Sadly, fish stocks have noticeably declined in recent years, and this new reality has forced us to explore further offshore; quite often 10 kilometres or more. Such long-distance expeditions are risky. On our last foray, my mate capsized when a rogue wave hit his bow while he was under sail.
His rescue and the lessons learned from it are the focus of this article.
The advice offered is largely based on my experience and applied common sense that has kept me safe for almost 50 years of kayaking and kayak fishing. I have broken it down into three categories that are in one way or another connected to kayak safety.
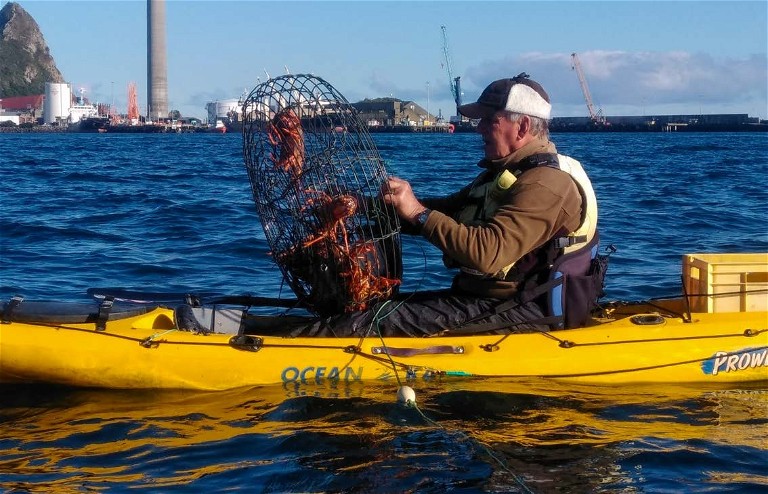
Lifting heavy craypots into a kayak can be a dangerous manoeuvre.
Kayak design and features
Fishing kayak design
I prefer stability in rough weather over speed, which usually comes down to hull widths and hull design – wider is more stable and narrower is more tippy. Around 70-75cm width is a good compromise.
Be aware of protruding items
Saddles, latches, handles and other attachment points in the area you will need to re-enter from the water can make it really difficult to slide up on the hull, especially if the pockets of the life jacket are bulging.
Safety lines around the hull
Permanently fixed lines are very useful to hold onto and move around the hull after a capsize.
Waterproof hatch covers
These are especially important for hatches that give direct access into the hull.
Hi vis-coloured hulls
Such colours make it easier to be found by the Coastguard or others. They could also prevent a collision with a speeding motorboat. In a trough between two big waves, a kayak becomes momentarily invisible. Make yourself as visible as you can, because in a collision with a speeding boat a kayaker always comes off worse.
Hi vis safety flag and hat
Further enhances visibility for others.
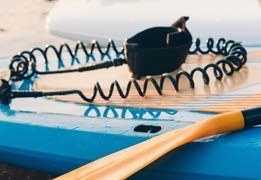
Paddle leash
Treat it like the safety belt in your car. Slip it on as soon as you are afloat, because without a paddle you won’t be going anywhere.
Clothing
There is a huge range of clothing options available for water sports such as kayaking. What to wear depends on the season, anticipated weather and your budget. However, some items can compromise your safety after a capsize. For example, breathable paddle pants with tight-fitting ankle cuffs trap water. When my mate was finally pulled aboard a fishing boat, he had about 10 litres of water in each leg. Another mate who paddled around the North Island had the same experience during many failed surf landings. So how does that happen when outside water pressure tightly pushes the fabric against the legs? From my experience capsizing with breathable trout fishing waders, it happens like this: with every failed re-entry, water from your soaked upper body garments drains past the waist closure (wading belt) and down your legs. Once down there, inside and outside water pressure is equal and water just remains inside. Then, when trying to lift a leg above the water during a re-entry manoeuvre, the cuffs prevent rapid drainage and your leg suddenly becomes very heavy. During our recent rescue, my mate had so much water inside his paddle pants that he could not even climb up the fishing boat ladder.
“ THE ADVICE OFFERED IS LARGELY BASED ON MY EXPERIENCE AND APPLIED COMMON SENSE THAT HAS KEPT ME SAFE FOR ALMOST 50 YEARS OF KAYAKING AND KAYAK FISHING. ”
Dive booties
These booties generally have no buoyancy and require vigorous leg kicks to get the legs into a horizontal position for a successful re-entry. This is unnecessarily exhausting. Depending on the design, some booties can be pulled up over the pant leg cuffs to make them more waterproof. This further slows drainage as described above. The simple answer is to wear buoyant footwear such as Crocs, which automatically float your legs to the surface and keep them there. Practise it in the present warm water and see how Crocs float your legs to the surface without any effort or leg kicks. Quite surprisingly, I wear them without socks throughout winter and don’t get cold feet.
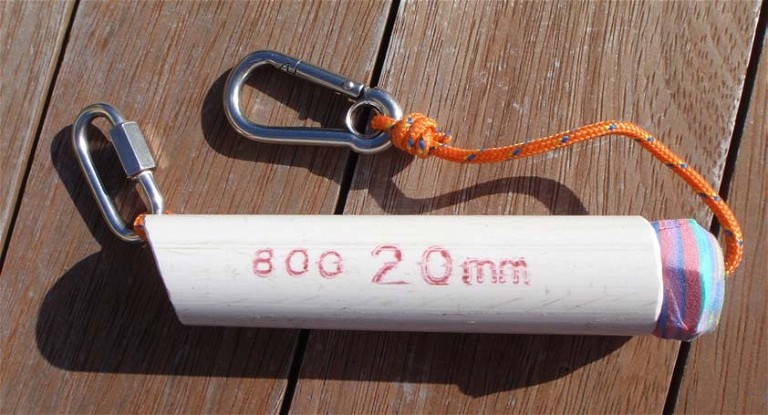
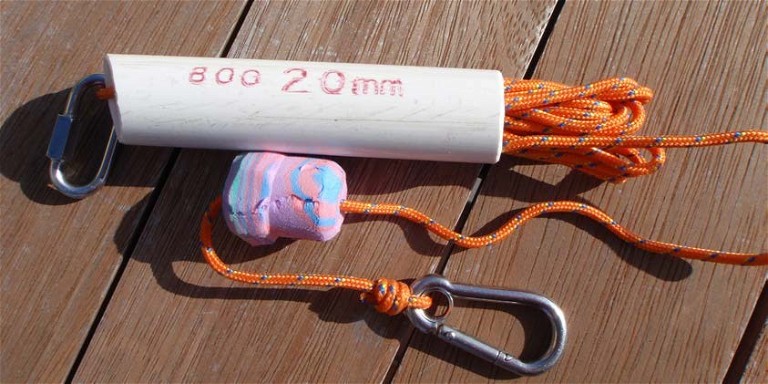
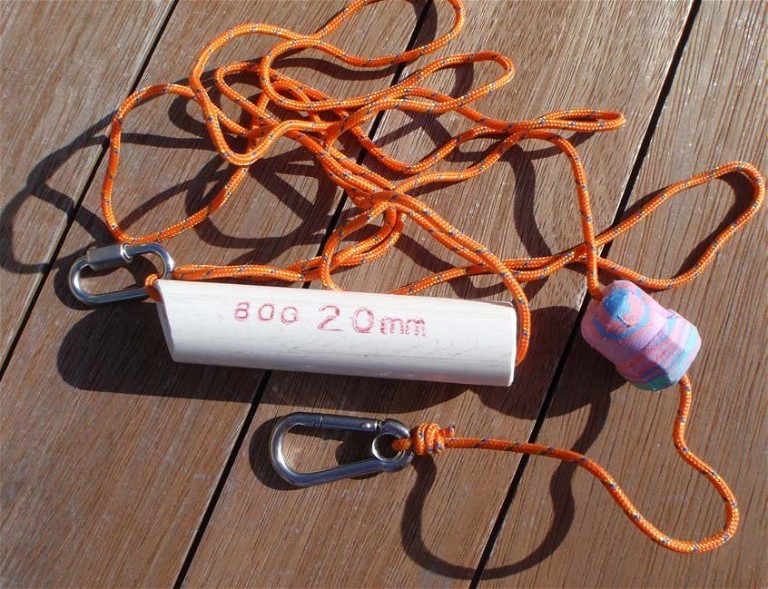
Herb’s DIY safety leash – long enough to let him swim freely around the kayak or dive underneath to the other side.
Preparation and operation
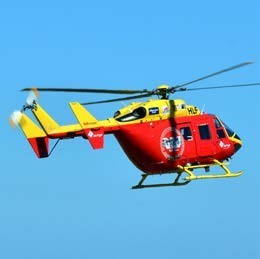
Coastguard
It is utterly foolish to go out without logging a trip with the Coastguard. I always log mine and listen to the Coastguard VHF channel while I am out there. I hear how most fishing boats use this vital service but kayak fishers rarely log their intentions. Remember, in the vastness of the sea as a kayak fisher you are already a tiny dot, and once capsized you are barely visible. Even if somebody eventually reports you missing, searchers will have no idea where to start looking. At least leave someone a note of where you are going and when you will be back.
Check your preferred weather channels
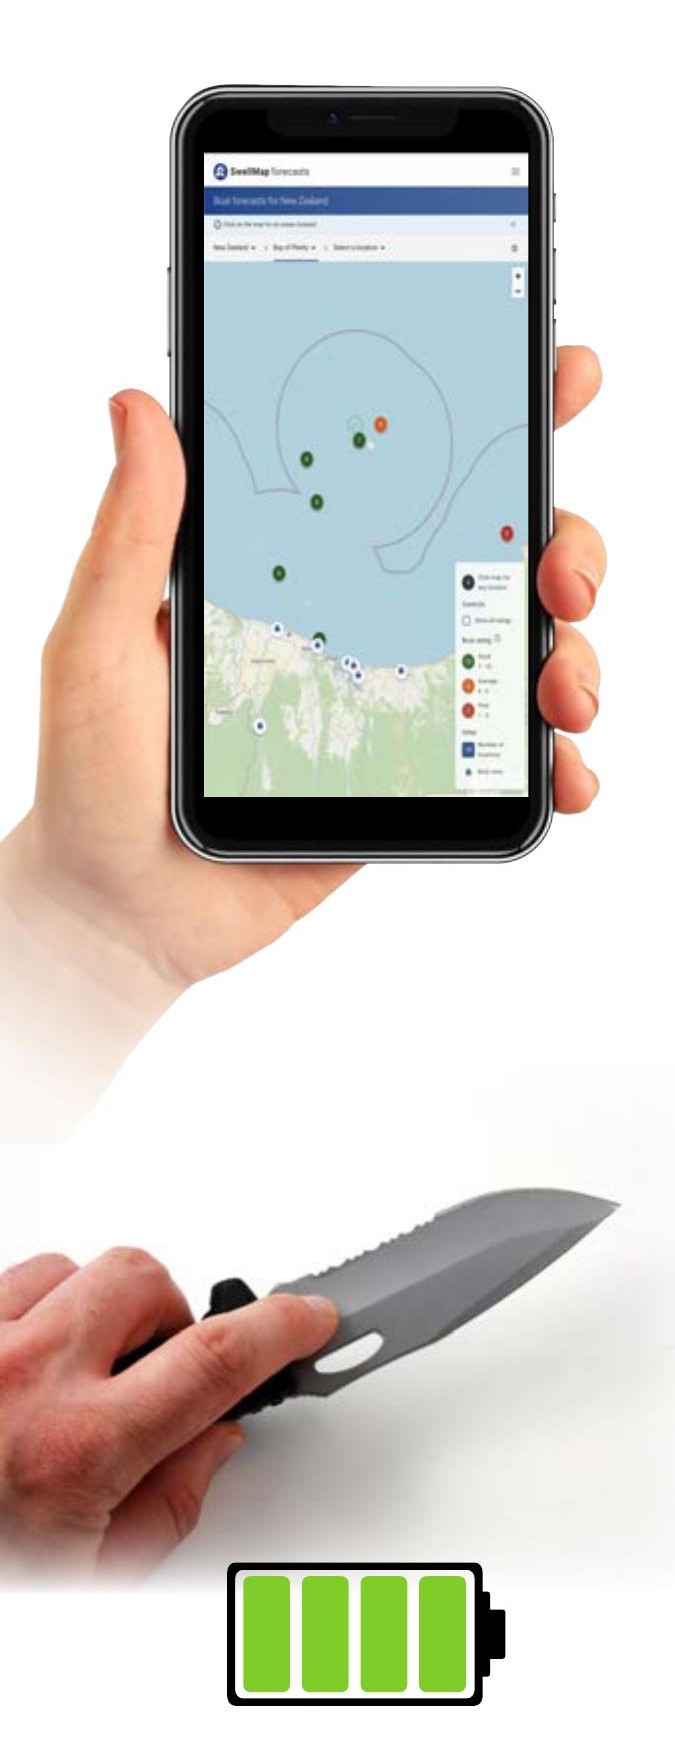
I use Swellmap, Windfinder, Wind Guru and Windy. In the morning I check the Port Taranaki ‘Sea Condition’ website. If all these look promising, I load up and drive to the beach. However, no matter how promising the forecasts are, if I don’t like what I see out at sea I do not go out. I would rather risk losing a fishing day than go out in risky conditions. Do not ignore a forecast that predicts a dangerous wind change. Pull up the anchor before that happens.
Line-cutting tool/knife
This will free up entangled fishing lines and leashes.
Charged batteries
Crucial for keeping your communication devices functional.
A personal locator beacon
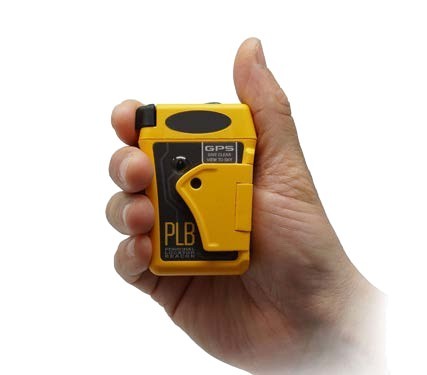
A PLB is the very last resort and must be on the body in such a position that it is easily reachable and can be activated above the water.
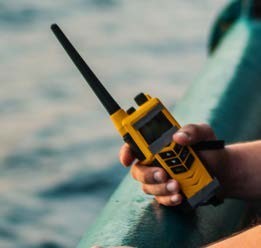
Hand-held VHF radio
This should be waterproof and ideally stored in a waterproof bag that is leashed to the life jacket. It makes sense to save important channels in its memory.
Do not rely on your cell phone
It may not be waterproof and even if it is, its wet screen may be very hard to use/read.
Life jackets
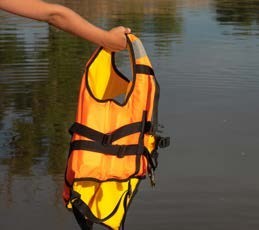
There are many models, all of which are certified to keep you afloat. However, they all lack a crotch strap that stops the jacket from riding up or, put another way, you sliding down once you are in the water. Most vests are worn pretty loosely, which accentuates this dislocation. I have sown such a strap on my vest and do it up tightly before I board my kayak. You can’t do anything with the life jacket around your ears.
Current direction and strength
Currents can help or hinder your return when conditions become worrisome. You can get a good idea about it by purposely paddling past a buoy or anchored fishing boat.
A safety leash
This should be long enough to let you swim freely around the kayak or dive underneath to the other side.
Big waves
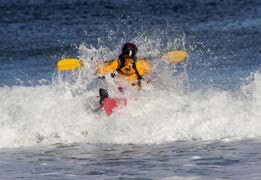
It is safer and more efficient to negotiate big waves at a 45-degree angle, rolling over the top of oncoming waves and bracing with the paddle when surfing a following one. Wind against current throws up good chop waves. Whitecaps often reveal larger waves rolling towards you. Generally, the first one is big and is followed by a deep trough out of which rises an even bigger second wave. Depending on your position, brace with the paddle to stay upright.

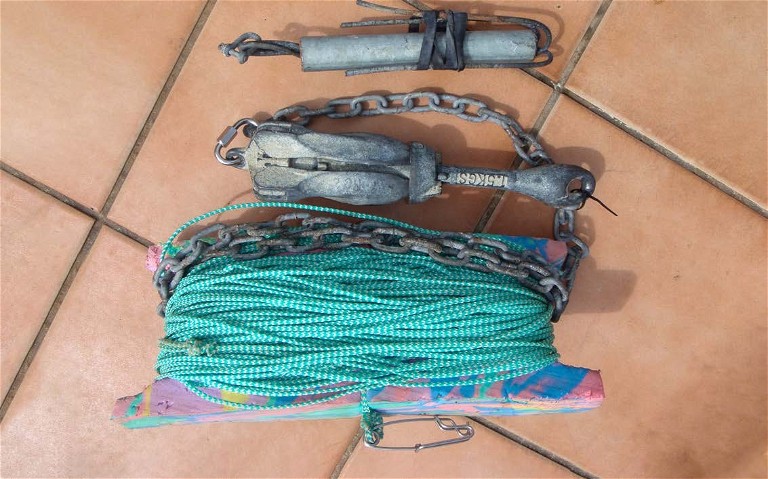
Herb only uses the top anchor shown for kayak fishing – a homemade anchor made from a 30mm diameter pipe and eight prongs of No. 8 wire. With a metre-long chain, it will hold in the sand and if stuck in a reef, can be freed by pulling the wire prongs straight.
Re-entry from the upwind side of the kayak is easier.
Leak in the hull
This could result from a crack or a small hole on the tail fin that has been caused when the kayak has been repeatedly dragged over rocks or concrete. Any such leaks are very dangerous. As water silently enters, it makes the hull progressively more and more unstable. By the time you notice, there could be a lot of water in the hull. Return to the shore immediately. When riding a wave with water in the hull, the water will rush to the bow and probably capsize the kayak.
Choice of anchor
There are various types of kayak anchors. The most common are fold-up and grapnel anchors. They all work but can easily become stuck on a reef. This can be partially overcome with a cable tie breakaway system which, when broken, will allow the anchor to be pulled backwards. I now only use a homemade anchor made from a 30mm diameter pipe and eight prongs of No. 8 wire. With a metre-long chain it will hold in the sand and, if stuck in a reef, can be freed by pulling the wire prongs straight.
Anchor retrieval
Free the anchor from the bottom by pulling the rope from the upwind side of the kayak. This automatically stabilises the kayak against the oncoming waves. Once freed, pull the rope (3mm) and spill it into the sea. Recover the anchor and store it. As you drift downwind, there will be a large loop of rope just under the surface behind you, which can then be wound up easily and safely. However, sometimes an anchor is stuck and defies any effort to free it. If that happens when conditions are deteriorating, it is best to cut and run rather than risk your life for a few dollars.
Craypots
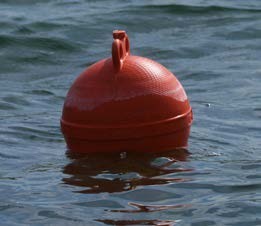
Two wire beehive pots can be transported on the deck of most kayaks. When retrieving, locate the buoy and position the kayak downwind before pulling the craypot off the bottom. Spill rope and buoy into the sea to ensure no rope remains on your body. This is important, as a heavy pot will pull you down if you capsize and are entangled in the rope.
Kayak layout
Organise gear so that everything you need to do is within arm’s reach without having to move your butt off your seat. For instance, I secure my tools according to frequency of use. The knife most used is closest, pliers less used are further away, and the gaff least used is furthest, and so on.
Storage
On a fishing kayak, storage space is limited. Only take what you need for your intended fishing mode. Remember, saltwater quietly eats hooks, lures and any tackle that you take with you but will probably never use.
Always keep an eye out
Always watch the surrounding sea in testing conditions. Rogue waves can hit you at any time, and you need to see them before they hit you to take corrective action.
Sail
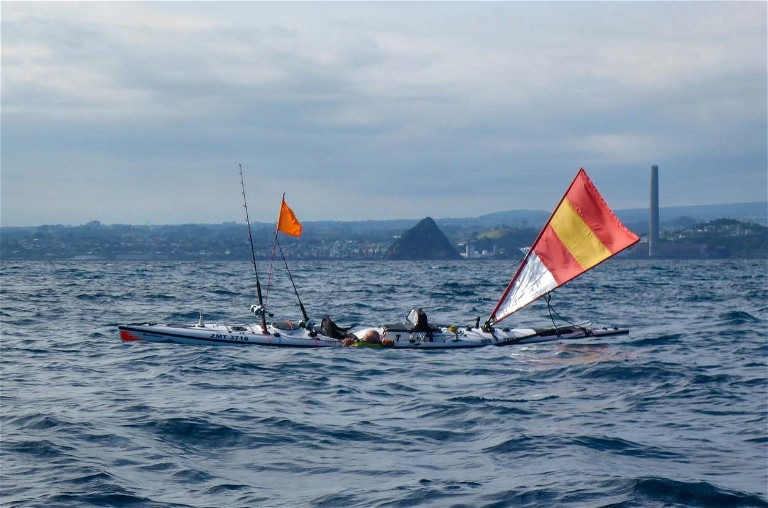
On long-range fishing trips, sails are a great help but they also increase the risk of a capsize, especially on narrow-beamed kayaks. We use a 1.5m2 Pacific Action Sail on our tuna expeditions and can safely deploy them in winds of up to 12 knots. In gusty conditions, bracing with the paddle helps to steady the kayak.
Sharks
Sharks are everywhere and thank goodness most of them are harmless. If you don’t want to attract the nasty kind, then do not advertise your kayak as a food bank. Avoid hanging berley bags from your gunnels, and chop up fish bait or store bleeding fish in your rear well to let the blood flow out through the scuppers.
Capsize and rescue
Be aware that capsizes mostly happen in rough conditions and any self-rescue operations must be simple and logical. Practices or rescue equipment assemblies that work well in calm shallow water may be too complicated and exhausting in bad weather.
One usually falls out on the lee side but must re-enter from the upwind side. This means one must be able to move around or dive under the kayak. In most situations, the kayak will be floating bottom up and needs to be flipped over. It is best achieved by diving underneath it and lifting and pushing one side while pulling down the other. This may be more difficult with a full fish bin so be prepared to ditch it. If life is at stake, letting it go is a small sacrifice. Also, sort out anything hanging from leashes and cut off stray fishing lines, hooks and lures that could snag or entangle you.
Re-enter the kayak from the upwind side, and use buoyant footwear or kick your legs to get the body into a horizontal position near the surface. As the wind and waves push the kayak away, the body floats behind. Re-entry from that position is easier because it is harder for the kayak to roll against wind and waves. This makes it easier for a person to pull their upper body onto the hull. Practise getting back into your seat in calm water. If you have help, a second kayaker should position their kayak on the downwind side and hold the empty kayak down while the person in the water pulls themself onto the deck.
Deciding when to call Coastguard depends entirely on the difficulties of managing a re-entry. Personally, I would do it right away, even if only to alert them and nearby boats of the situation and your location. If re-entry becomes impossible, help can be organised quicker. It may also be your last communication if your radio drowns. This is not the time to be image-conscious. In cold water, energy drains very quickly.
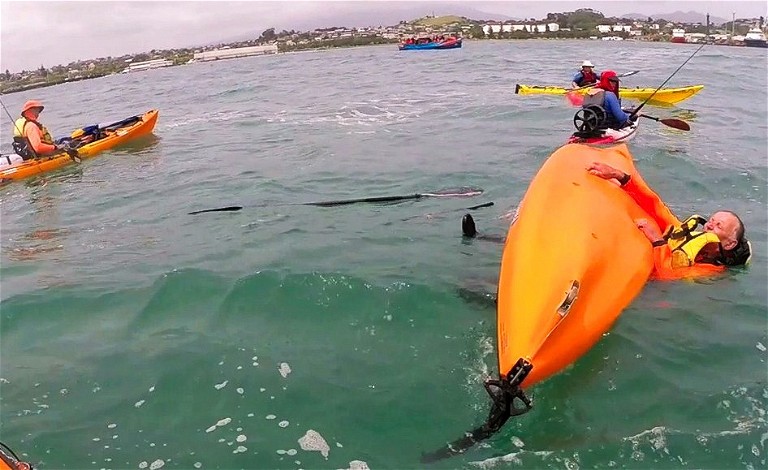
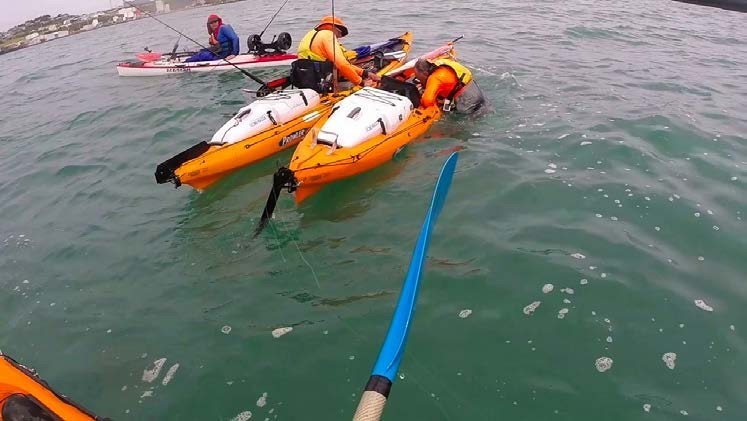
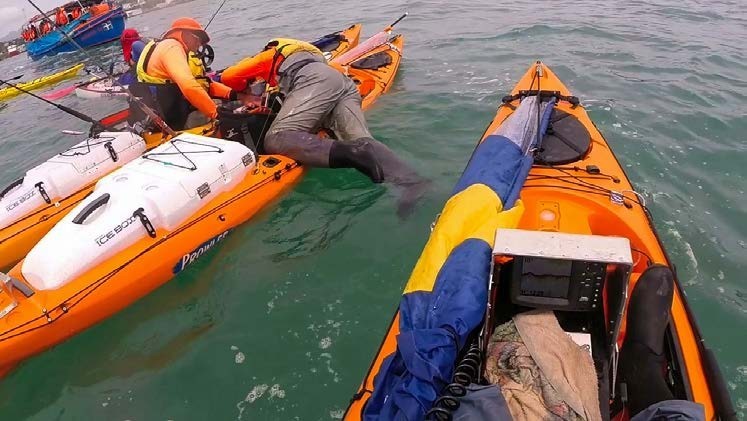
Kayak flip and re-entry is difficult for Herb with a full icebox and a decent amount of water weighing down his pants.
Kayak fishing, like most sports, carries some risks which increase the less you are prepared. While this article will hopefully shorten your learning path, it is no substitute for personal on-the-water experience. We all learn from our mistakes and there is no shame in it. It only becomes problematic if you make the same mistake twice. My final and probably best advice is: if in doubt, don’t go out.