HOW TO POT FOR CRAYS
Tips from the Experts
Crayfish potting is a popular summer activity that provides the opportunity for all Kiwis to harvest these delectable crustaceans. In this guide, the experts from the CRA 2 Rock Lobster Management Company share some handy tips for a successful outing.
Gearing up
Pots come in all sorts of shapes, sizes, and construction – from steel mesh to plastic. While the choice of material is not critical, the weight of the pot is important. A light craypot that moves about in the current and swell simply will not work, so add weights to the bottom of the pot if it is constructed from light material. Make sure to distribute the weights evenly at the base of the pot to ensure it sits the right way up. Most new pots take a few days to start working – the crays seem to prefer pots that have had a few days to ‘weather’.
Of course, your pot needs to be attached to a rope and buoy to mark its location and allow its retrieval. Attach a buoy to the crayfish pot using a durable rope and allow enough rope for the rise of tide and swell – if you don’t have enough rope the pot will move, whereas if there’s too much you run the risk of catching a passing boat or whale. An 8oz lead sinker tied to the rope about one-quarter of the way down will help keep the spare rope vertical and away from the surface.
It’s important to ensure pots meet fishery regulations. All pots and surface floats must be clearly and permanently marked with the fisher’s surname and initials. Individuals may use, set, or possess up to three pots in any one day, while two or more individuals fishing from a vessel may use, set, or possess up to six pots in any one day provided they have their name on the pots and that each person is using no more than three of the pots.
All rock lobster pots must have escape gaps (apertures). These are openings in the pot designed to allow undersized rock lobster to escape. No escape gap shall be incorporated in either the top or the bottom of any pot. Each escape gap must have an inside dimension of at least 54mm x 200mm. Round or beehive pots must have at least three escape gaps (other than the mouth), while square or rectangular pots must have at least two escape gaps (other than the mouth) in opposite faces of the pot not less than 80% of the height or length of the face.
Finding your spot
Crayfish are found from the low tide mark to 80 metres over rocky ground. Crayfish generally hide in cracks, caves, ledges, and boulders during the day and come out to feed overnight. Look for rough, uneven terrain – either on your sounder or along the adjacent shoreline. A good tip is to find a rock that holds fish. The reason for this is simple – crayfish eat the same grub that many fish do! Plenty of kelp cover is usually a good sign, too.

1) Attach a buoy to the crayfish pot using a durable rope and allow enough rope for the rise of tide and swell – if you don’t have enough rope the pot will move, whereas if there’s too much you run the risk of catching a passing boat or whale.

2) Crayfish generally hide in cracks, caves, ledges, and boulders during the day and come out to feed overnight.


3 & 4) When choosing where to set pots, look for rough, uneven terrain – either on your sounder or along the adjacent shoreline.

Try to retrieve the pot as early as possible in the morning – this will help you get to the crayfish before any greedy octopus (or humans!) have a chance.
The best way to find crays in your local area is through trial and error. In some areas a pot needs to be in a precise location to catch crays, so make sure to use landmarks or GPS coordinates to mark the spot when you have a good catch! Crayfish can be caught all year round; summer can be more productive but this varies from area to area and forms part of the challenge.
Setting your pot
You need an enticing bait to lure crayfish into your pots! Popular choices include fish heads, fish frames, or other oily and aromatic bait. Just like line fishing, fresh bait is best, and using fish with high blood content such as kahawai can help increase your chances. Secure the bait close to the neck (entrance) of the pot to entice crayfish to enter, but make sure the bait can’t be easily consumed by crays or fish from outside the pot.
Although sets during daylight hours can work in some areas, the best time to set pots is before dark as this presents the bait in the freshest condition for crays when they head out foraging overnight. Try to retrieve the pot as early as possible in the morning – this will help you get to the crayfish before any greedy octopus (or humans!) have a chance. Hot tip: if you do catch an octopus, they make great snapper bait, especially on the longline.
When hauling your pots, keep the side of the boat you are hauling on facing any swell or wind and keep an eye on things. The extra weight can make your boat unstable, and many boats have capsized by a swell taking them by surprise.
Best practice
Before embarking on a crayfish potting adventure, familiarise yourself with local regulations. Each region may have specific rules regarding potting gear, size limits, and bag limits. Regulations may change, so it’s essential to stay informed about any updates or amendments. For example, recreationally caught crayfish in the CRA 2 area must have onethird of the middle telson (tail fin) removed immediately once the decision has been made to keep the lobster.

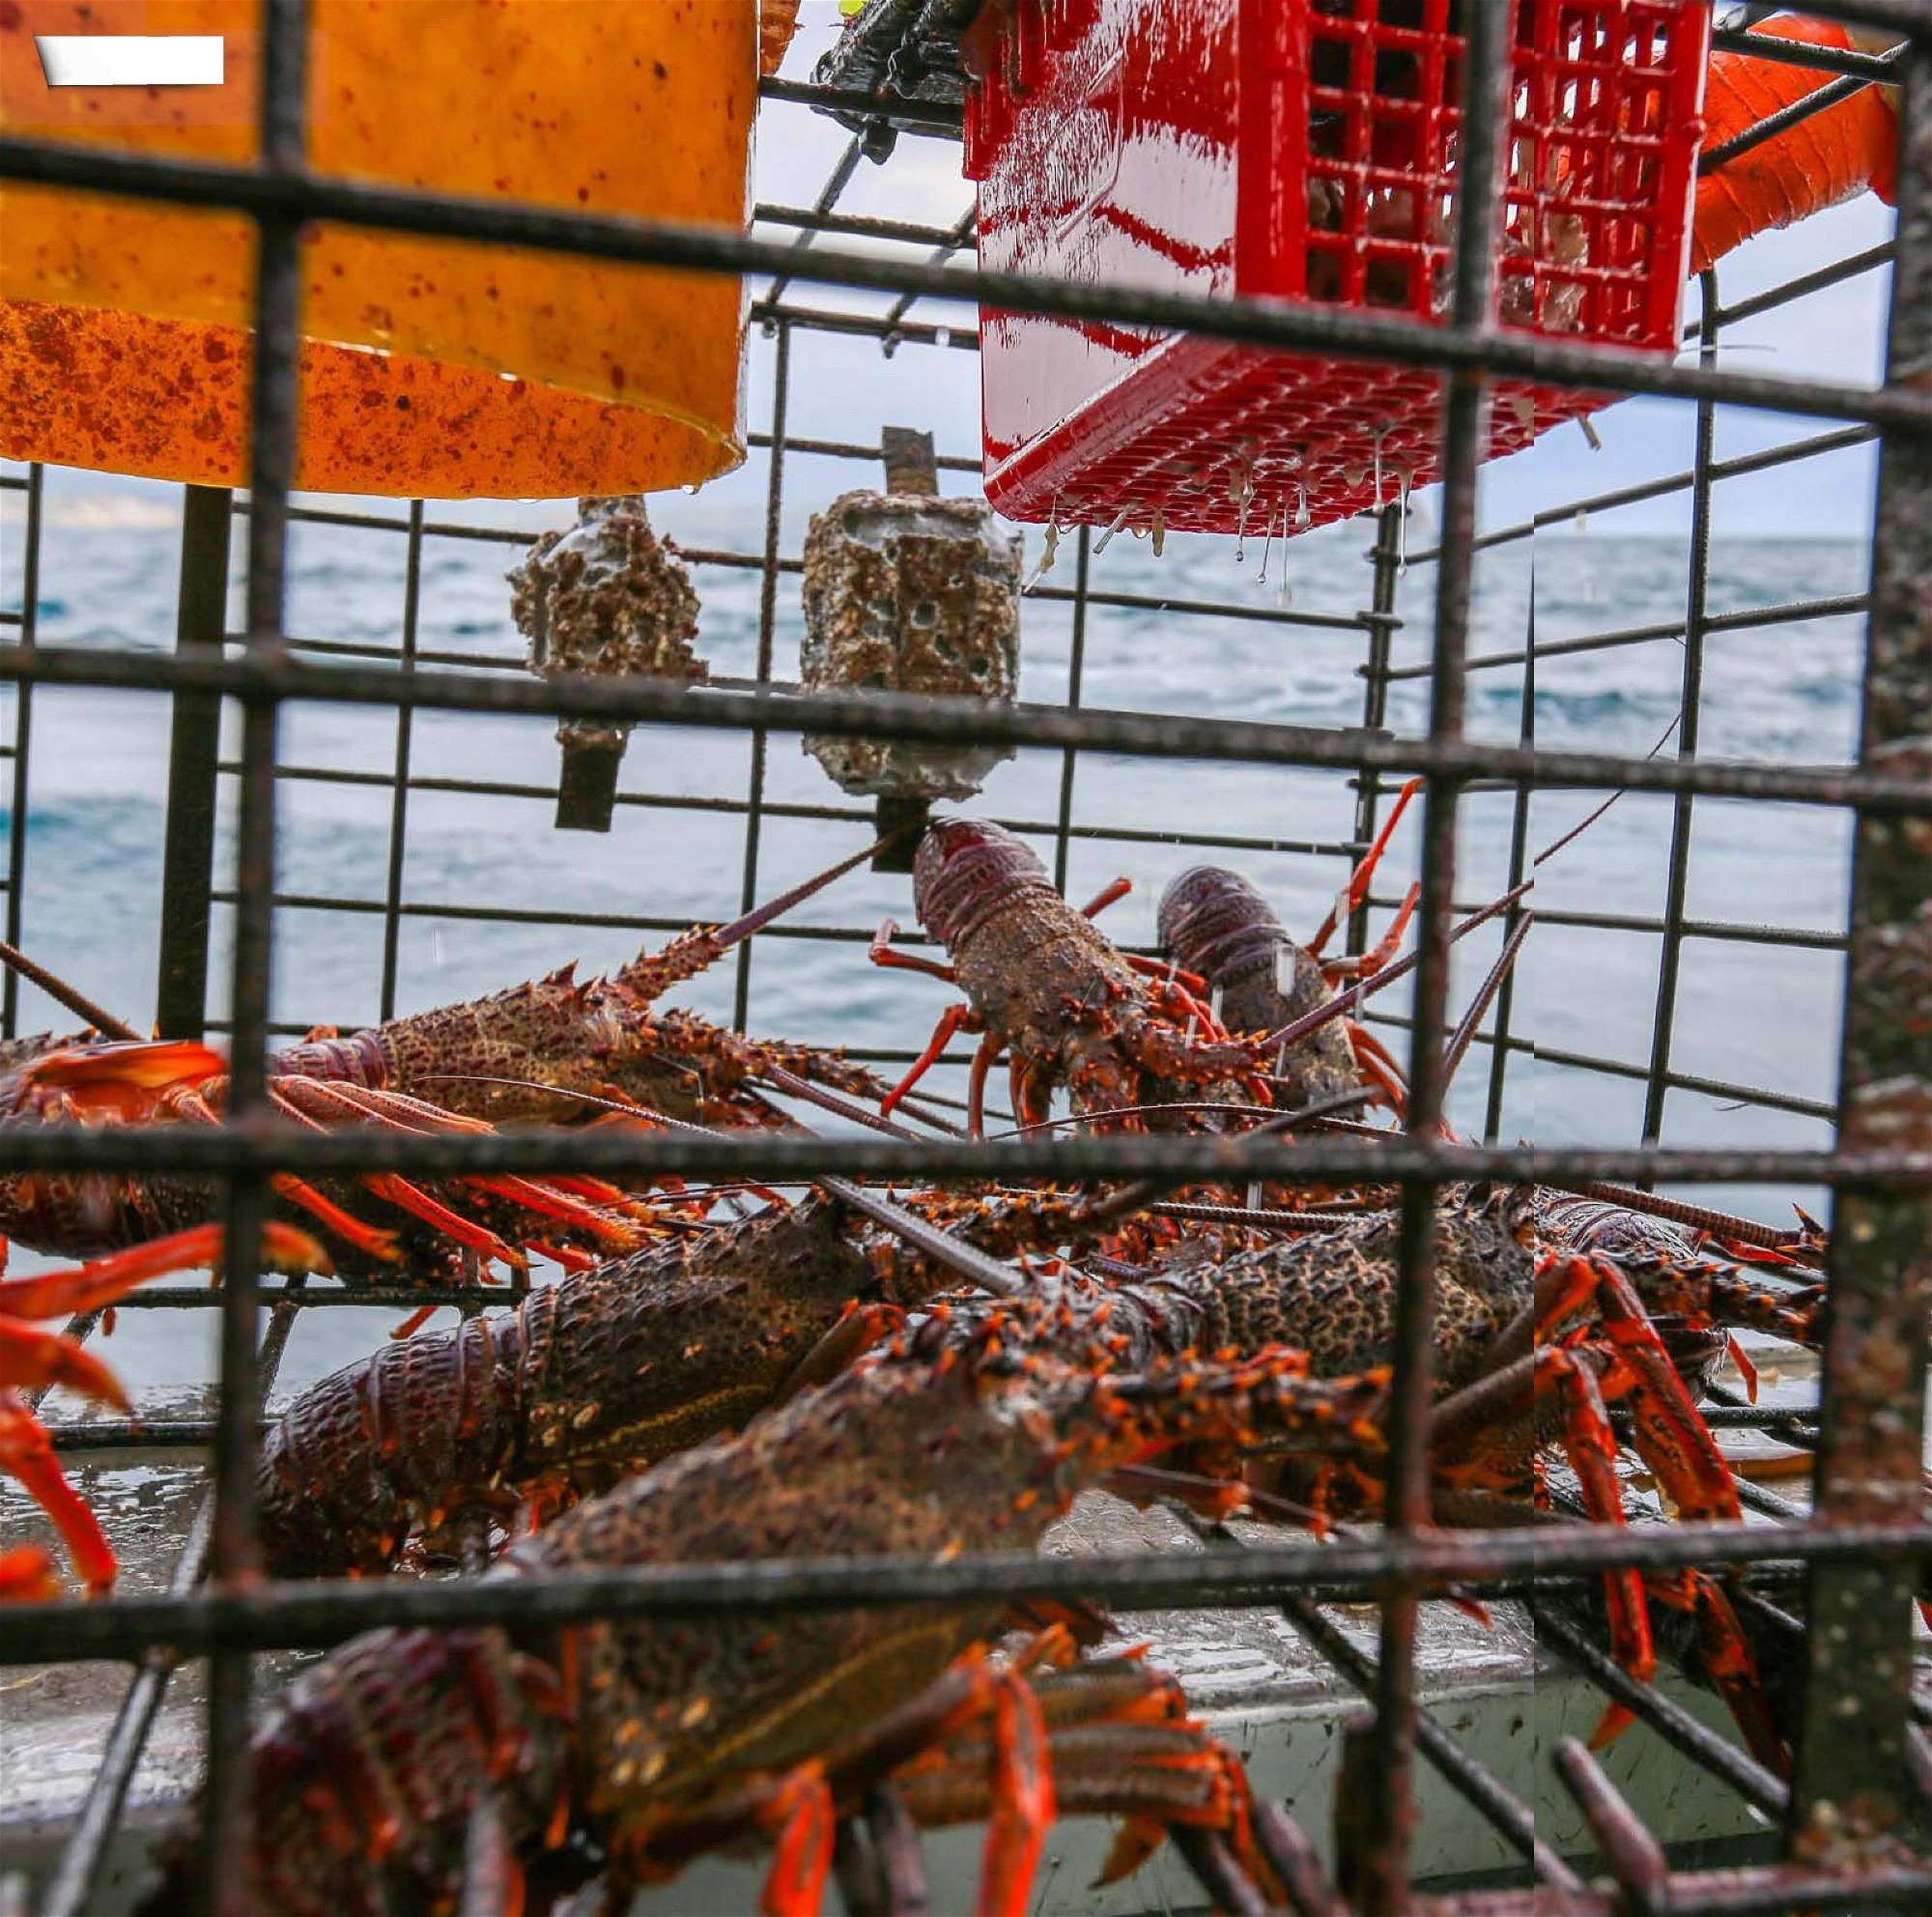
The exciting part – the first glimpse of success!

Snapper can be a bonus when craypotting. Note the octopus casualties in the pot, too.
When handling crayfish, be cautious of their sharp spines. Use gloves to protect your hands and avoid causing harm to the crayfish or yourself. Measure your crays straight away and return them to the sea quickly if they are undersized. You must release any crays that are in soft shell stage and also females carrying external eggs (in berry) − these are carried between the pleopods on the underside of the tail.
Good luck out there!
You can find out more about crayfish here: https://nzrocklobster.co.nz/